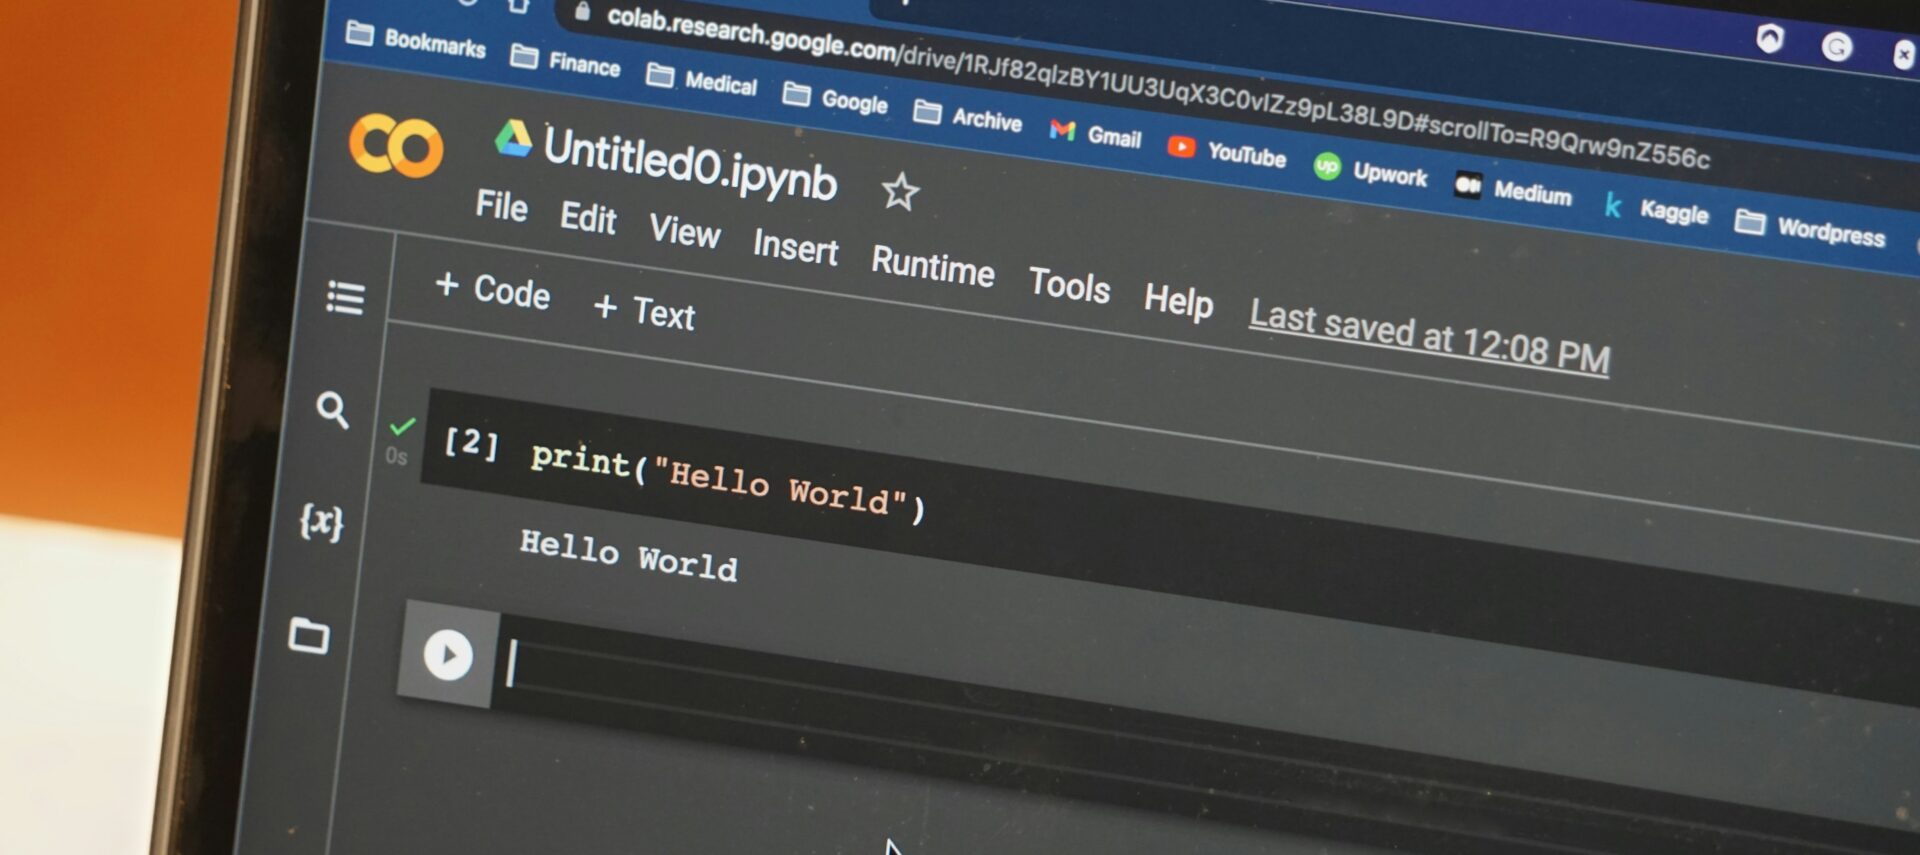
このブログではPythonを使ったスクレイピングを、初心者向けにサンプルコード付きで解説しています。以下に紹介する記事では、①から⑨のステップでスクレイピングの方法を学び、実践に役立てられるよう体系的にまとめています。

【①〜⑨まとめ】PythonでWebスクレイピングを実践する方法【サンプルコード付き】
このブログではPythonスクレイピングを初心者向けに解説していきます。順番に各記事で解説しており入門者向けです。サンプルコード付きで解説するので実践的…
こちらの記事ではBeautifulSoupを使ったスクレイピングの基本を解説しました。
記事内では指定されたURLからHTMLデータを取得しタイトルを出力するという簡単なコードでしたが、今回はより具体的にHTMLデータの見出しや画像、リンクなど各要素を取得する方法を解説していきます。
例えばショッピングサイトであればその商品のタイトル、価格、画像、商品説明、カテゴリなどが必要になるかもしれません。ということでURLを元にHTMLを解析していき、自分が欲しいデータ、要素を実際に取得する方法をサンプルコードで説明していきます。
目次
基本的な考え方
Requests、BeautifulSoupの基本から進めます。
|
1 2 3 4 5 6 7 8 9 10 11 12 13 14 15 |
import requests from bs4 import BeautifulSoup # 1. ウェブページをリクエストして、指定されたURLからデータを取得 url = 'https://scraping-for-beginner.herokuapp.com/ranking/' # 変数urlに対象のURLを代入 webpage_response = requests.get(url) # 2. コンテンツ属性を使用して、ウェブページのコンテンツを取得 webpage_content = webpage_response.content # 3. BeautifulSoupを使用して、取得したウェブページのコンテンツを解析可能な形式に変換 webpage_soup = BeautifulSoup(webpage_content, "html.parser") # HTML全体を表示 print(webpage_soup.prettify()) |
試しに上記コードの変数webpage_soupをそのままプリントすると、ブラウザでそのページを検証するのと同じようにHTML構造が取得できるのです。つまりこれだけの操作でそのWebサイトのデータは基本的に全て取得できているということですね。(ただしウェブサイトがjavaScriptなどで動的に生成される場合、Seleniumが必要)
あとはこのHTMLデータの中から必要な要素を取り出してあげればいいということになります。
BeautifulSoupライブラリにはselect、findといった2つの主要なメソッドがあります。これらを使うことで例えばh1タグ要素を取得したり、クラスやIDを指定して要素を取得するといったことが可能です。ざっと説明するとselectは指定したタグやクラスに一致する全てを取得、findは見つかった最初の要素だけを返します。
h2タグなどを取得する方法
ウェブサイトにもよりますが、h2タグがタイトル、h3が各見出しなどになっていることがあります。その場合そのタグをそのまま指定して取得してあげればOKです。
以下サンプルコードでは分かりやすいよう、URLの代わりにHTMLコードを直接記述しています。実際にその要素が取得できるか確認していきましょう。
|
1 2 3 4 5 6 7 8 9 10 11 12 13 14 15 16 17 18 19 20 21 22 23 24 25 26 27 28 29 30 31 32 33 34 35 36 37 38 39 40 41 42 43 44 45 46 47 48 49 50 51 52 53 54 55 56 57 58 59 60 61 62 63 64 65 66 67 68 69 70 |
import requests from bs4 import BeautifulSoup # サンプルHTML html_content = """ <!DOCTYPE html> <html lang="en"> <head> <meta charset="UTF-8"> <meta name="viewport" content="width=device-width, initial-scale=1.0"> <title>Sample HTML - 商品一覧</title> <style> .product { border: 1px solid #ccc; padding: 16px; margin-bottom: 20px; } .product img { max-width: 200px; } </style> </head> <body> <h1 class="title">タイトル1</h1> <div class="title"> <h1>タイトル2</h1> </div> <h2>商品一覧</h2> <div id="product-list"> <!-- 商品1 --> <div class="product"> <h2 class="product-title">商品タイトル: カメラA</h2> <h3 class="product-price">価格: ¥30,000</h3> <img src="https://example.com/cameraA.jpg" alt="カメラAの画像"> <p class="product-description">このカメラは高画質で初心者にも使いやすいモデルです。</p> <p class="product-category">カテゴリ: 家電・カメラ</p> </div> <!-- 商品2 --> <div class="product"> <h2 class="product-title">商品タイトル: スマートフォンB</h2> <h3 class="product-price">価格: ¥50,000</h3> <img src="https://example.com/smartphoneB.jpg" alt="スマートフォンBの画像"> <p class="product-description">最新のスマートフォンで、高性能なカメラと大容量バッテリーを搭載しています。</p> <p class="product-category">カテゴリ: スマホ・アクセサリー</p> </div> <!-- 商品3 --> <div class="product"> <h2 class="product-title">商品タイトル: ノートパソコンC</h2> <h3 class="product-price">価格: ¥80,000</h3> <img src="https://example.com/laptopC.jpg" alt="ノートパソコンCの画像"> <p class="product-description">軽量で持ち運びが便利な最新のノートパソコンです。</p> <p class="product-category">カテゴリ: パソコン・周辺機器</p> </div> </div> <div class="関連リンク"> <h1 class="entry-title"><a href="https://example.com/news1">リンク 1</a><a href="https://example.com/サブリンク 1">Sublink 1</a></h1> <h1 class="entry-title"><a href="https://example.com/news2">リンク 2</a><a href="https://example.com/サブリンク 2">Sublink 2</a></h1> <h1 class="entry-title"><a href="https://example.com/news3">リンク 3</a><a href="https://example.com/サブリンク 3">Sublink 3</a></h1> </div> </body> </html> """ # BeautifulSoupオブジェクトの作成 webpage_soup = BeautifulSoup(html_content, "html.parser") |
単純にh2タグを全てセレクト。テキスト含む全てのコンテンツが取得される
|
1 2 3 4 |
h2_tags = webpage_soup.select("h2") print(h2_tags) #結果 [<h2>商品一覧</h2>, <h2 class="product-title">商品タイトル: カメラA</h2>, <h2 class="product-title">商品タイトル: スマートフォンB</h2>, <h2 class="product-title">商品タイトル: ノートパソコンC</h2>] |
select メソッドを使うことで、特定の要素の取得ができます。単純にh2タグを全てセレクトすると、テキスト含む全てのHTMLコンテンツが取得されます。
h2タグのテキストだけを取得
|
1 2 3 4 5 6 7 8 9 10 |
h2_tags = webpage_soup.select("h2") for h2_tag in h2_tags: print(h2_tag.text) # 結果 # 商品一覧 # 商品タイトル: カメラA # 商品タイトル: スマートフォンB # 商品タイトル: ノートパソコンC |
select メソッドで取得された要素はリストではなく Tag オブジェクトのリストであるため、for ループを使用して各要素のテキストを取得する必要があります。
インデックスを使って取得する方法
|
1 2 3 4 |
first_h2_text = h2_tags[1].text print(first_h2_text) # 結果 商品タイトル: カメラA |
このようにh2_tagsにインデックスを指定してひとつの要素を取得することもできます。その際は.textを直接使うことができます。
クラス名を指定する方法
今度はタグだけではなく、クラス名を指定して取得してみましょう。
product-titleクラスを持つh2タグを取得
|
1 2 3 4 5 6 7 8 9 |
product_titles = webpage_soup.select("h2.product-title") for product_title in product_titles: print(product_title.text) # 結果 # 商品タイトル: カメラA # 商品タイトル: スマートフォンB # 商品タイトル: ノートパソコンC |
h2タグの中でclassがproduct-titleの要素だけを取得します。これにより、h2タグだけが付与されている”商品一覧”といったテキストは取得されなくなりました。このようにタグやクラス名を詳細に指定することで不要な要素を除外することができます。
product-priceクラスを取得
|
1 2 3 4 5 6 7 8 9 |
product_prices = webpage_soup.select(".product-price") for product_price in product_prices: print(product_price.text) # 結果 # 価格: ¥30,000 # 価格: ¥50,000 # 価格: ¥80,000 |
続いてクラス名がproduct-priceの要素を取得します。このようにクラス名だけでも取得できます。
タグ、クラス名を指定する順番による違い
例として、以下の2つのHTML構造があったとします。
|
1 2 3 4 5 |
<h1 class="title">タイトル1</h1> <div class="title"> <h1>タイトル2</h1> </div> |
h1要素かつ、クラスがtitleのものを取得
|
1 2 3 4 5 6 |
def get_title(): h1_tags_title = webpage_soup.select("h1.title") for title in h1_tags_title: print(title.text) get_title() #結果 タイトル1 |
titleクラスの中にあるh1要素を取得
|
1 2 3 4 5 6 |
def get_title2(): h1_tags_title = webpage_soup.select(".title h1") for title in h1_tags_title: print(title.text) get_title2() #結果 タイトル2 |
それぞれの関数を呼び出すと、get_title()はタイトル1、get_title2()はタイトル2がプリントされます。このように、HTMLの構造をしっかりを把握しながら要素を取得していきましょう。
.findで最初の要素だけを取得する
最初の要素だけを取得する場合は.find
|
1 2 3 4 |
element = webpage_soup.find("h1") print(element.text) # 結果 タイトル1 |
.selectと違い、最初のh1要素だけが取得されます。.textも直接指定できます。
複雑な構造を取得する
|
1 2 3 4 5 6 7 8 9 |
<div class="title"> <h1>Example Title</h1> </div> element2 = webpage_soup.find("div", class_="title").find("h1") print(element2.text) # 結果 タイトル2 |
findメソッドを使って最初に見つかったdivタグの中からクラス名が”title”である要素を探し、その中に含まれるh1タグを取得しています。このようにHTMLの構造通りにタグ指定が必要です。
タグ指定の注意点
.select() メソッドはCSSセレクタを使用して要素を選択するため、階層構造に依存しない。そのため、<div class=”title”>ではdivタグを指定する必要がなく、単にクラスやID、タグ名などのセレクタを指定するだけで要素を選択できる。
.find() メソッドはhtml構造に依存するため、構造通りにタグ指定が必要。<div class=”title”>では、例:.find(“div”, class_=”title”).find(“h1″)のように、最初の引数として <div> タグを指定して、class=”title” を持つ <div> 要素を最初に見つける。その後、.find(“h1”) を使用してこの <div> 要素の中から直接的な子要素である <h1> 要素を取得。
リンクの取得方法
例として以下のようなリンクがあったとします。
|
1 2 3 4 5 |
<div class="関連リンク"> <h1 class="entry-title"><a href="https://example.com/news1">リンク 1</a><a href="https://example.com/サブリンク 1">Sublink 1</a></h1> <h1 class="entry-title"><a href="https://example.com/news2">リンク 2</a><a href="https://example.com/サブリンク 2">Sublink 2</a></h1> <h1 class="entry-title"><a href="https://example.com/news3">リンク 3</a><a href="https://example.com/サブリンク 3">Sublink 3</a></h1> </div> |
この場合、entry-titleクラスの中からa要素を取得すればいいわけです。
全てのaタグを取得する場合
|
1 2 3 4 5 6 7 8 9 10 11 12 13 14 15 16 |
def get_links(): links = webpage_soup.select("h1.entry-title a") for link in links: if link: print(link['href'])#ここでhref属性を取得 get_links() # 結果 # https://example.com/news1 # https://example.com/サブリンク 1 # https://example.com/news2 # https://example.com/サブリンク 2 # https://example.com/news3 # https://example.com/サブリンク 3 |
この場合タグ、クラス名に一致するすべてのa要素からhref属性を取得しています。
各要素の最初のaタグだけをfindする場合
|
1 2 3 4 5 6 7 8 9 10 11 12 |
news_links = [] def get_links2(): elements = webpage_soup.select("h1.entry-title")#さらに要素を限定するなら、.select(".entry h1.entry-title a")にする for element in elements: link = element.find('a') if link: news_links.append(link['href']) return news_links#ここでhref属性を取得しつつ、リストに格納される print(get_links2()) # 結果 ['https://example.com/news1', 'https://example.com/news2', 'https://example.com/news3'] |
Img要素(画像)を取得する場合
|
1 2 3 4 5 6 7 8 |
for img in img_elements: print(img['src']) # 結果 # https://example.com/cameraA.jpg # https://example.com/smartphoneB.jpg # https://example.com/laptopC.jpg |
このようにsrc属性の取得もできます。
まとめ
この記事ではPythonのBeautifulSoupライブラリを使用して、特定のウェブページから必要なデータ要素(見出し、画像、リンクなど)を取得する方法について解説しました。上記方法を使えば単一のページであれば大体のデータはスクレイピングできるかと思います。
複数のページに渡ってスクレイピングしたい場合、もう少し複雑になります。これについては以下の記事で解説しています。

④Pythonで複数ページをまとめてスクレイピングする方法を解説【サンプルコード】
このブログではPythonを使ったスクレイピングを、初心者向けにサンプルコード付きで解説しています。以下に紹介する記事では、①から⑨のステップでスクレイピ…


